Python is the most popular programming language used for AI and machine learning. Let’s see how to setup python environment for ML using anaconda.
How to install Python?
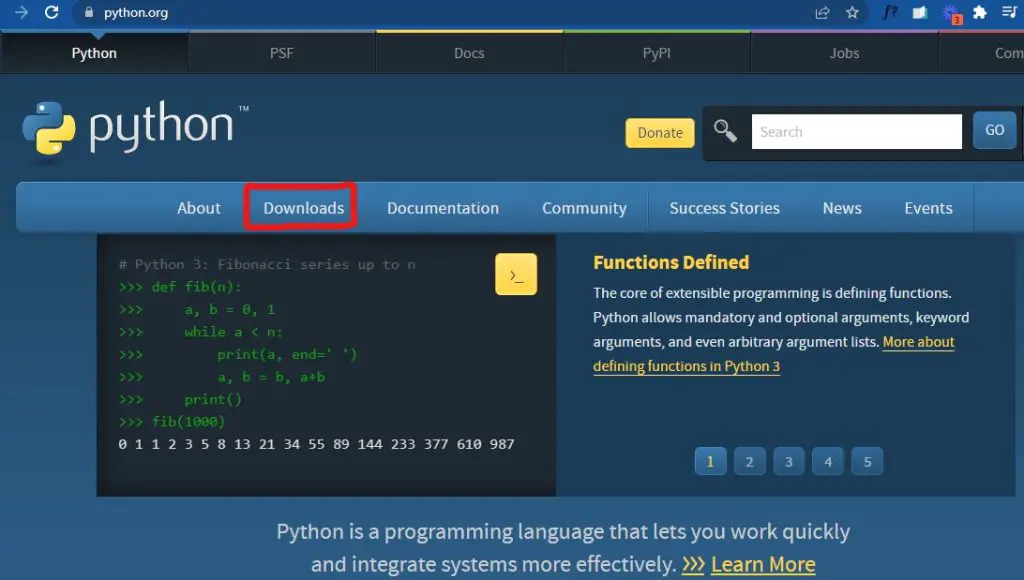
Simply visit Python.org, go to downloads section, download latest version that shows there and install it like you do for any other software.
To do machine learning in Python you will need to install additional packages that Python Software Foundation and the community develops and maintains. In this case, we will need packages such as Pandas and scikit-learn.
But here is the thing.
Developers generally don’t use / install Python this way.
Because, packages keep getting updated and when working on multiple projects, various projects can use different versions of packages. There are chances that you code might break if you update / use different versions of packages from what you started.
So, it’s a good practice to use a package manager like Anaconda.
So how does it work?
Conda environment
Upon installing conda, we initialize a fresh environment with a specific version of Python and required packages.
You can have multiple environments defined one for each project you may be working on.
So, Whenever you want to work in that project, you activate that specific project’s environment and start working.
Once you activate and enter a particular environment, the specific version of Python and packages will be used and any package you install will be installed in that specific environment only and will not affect other projects.
Hope that is clear?
Let’s see the steps to install and setup Anaconda.
Step 1: Install Anaconda
Visit Anaconda website, locate and download the free version of Anaconda for your operating system. Then install it like you do for any other software.
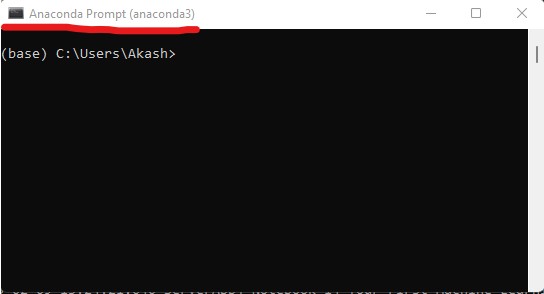
Once you do this, if you are in windows, you will be able to open ‘Anaconda Prompt’ instead of the usual ‘Command propmt’ .
If you are on Linux or Mac, you can use the terminal as always.
Step 2: Install Python
Open the terminal or ‘Anaconda prompt’ on windows.
Also read: Here is a more detailed guide on how to work with conda to create and manage environments
Create a fresh conda environment named mlenv (or any name you wish) and install Python 3.7.5.
Feel free to install a more recent version, doesn’t matter much for this lesson.
conda create --name mlenv python==3.7.5
Step 3: Activate the environment
conda activate mlenv
Step 4: Install the packages
For this project we will need pandas, scikit-learn and matplotlib.
pip install pandas scikit-learn matplotlib seaborn
You might also want to install ML packages like xgboost, lightGBM etc. So run:
pip install xgboost lightgbm
Since I have not specified the specific version number, it will install the latest version of the packages.
Step 5: Install Jupyter lab and start
Jupyter lab is a popular Web IDE used by most Data Scientists. This is my personal preference because it provides the the notebook feel plus you will be able to navigate the files and directtory, provides the terminal, code completions, help etc.
I use Jupyter lab for this. But it really doesnt matter which IDE you use. Besides Jupyter, people also use PyCharm, VS Code and Spyder for ML workflows.
If you are not familiar with IDEs, just pick Jupyter lab like I show here.
First install it.
> pip install jupyterlab
See this installation guide if you want to know more.
Then, start jupyterlab. But before you do that, if you have a project directory (a dir where you have all the code, datasets and files related to your project), cd to that directory and run the following command from there.
By doing so, your project directory will become the working directory.
Run this command in Terminal or Anaconda prompt.
> jupyter lab
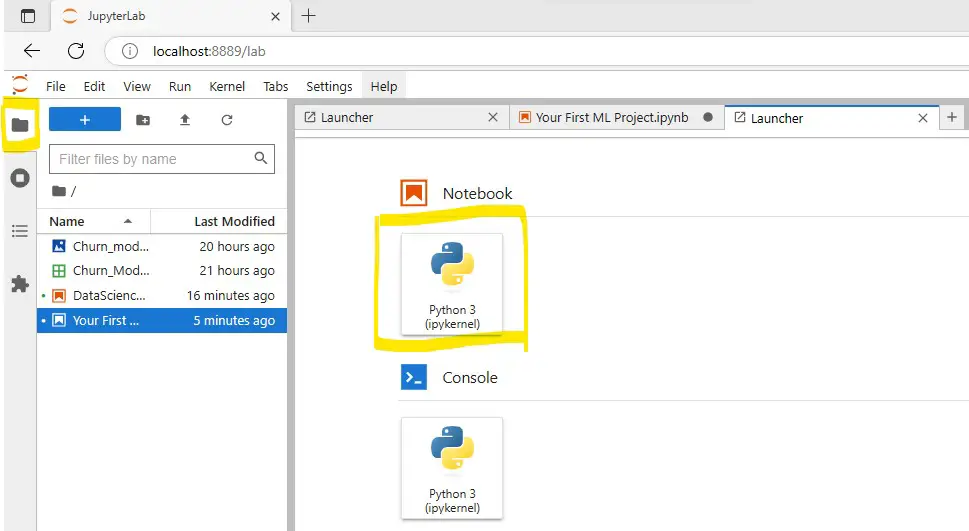
This will open jupyter lab in your default browser. You should see a screen like below.
Click on the file icon on the top left and then ‘+’ on top to open the launcher. Then start a new notebook by clicking the Python3 button. This will create a new Jupyter notebook. Rename it as you wish.

Step 6: Check versions
# Check versions
import sys, matplotlib, pandas, sklearn, seaborn

print(f'Python: {sys.version}')
print(f'matplotlib: {matplotlib.__version__}')
print(f'pandas: {pandas.__version__}')
print(f'sklearn: {sklearn.__version__}')
print(f'seaborn: {seaborn.__version__}')
Python: 3.7.5 (default, Oct 31 2019, 15:18:51) [MSC v.1916 64 bit (AMD64)]
matplotlib: 3.5.3
pandas: 1.3.5
sklearn: 1.0.2
seaborn: 0.12.1
Deactivate the environment
When you are done with your work or want to work on a different project, you will want to change to a different environment. To do that you need to deactivate and come out of the current conda environment.
> conda deactivate
[Next] Lesson 3: ML Modeling – Problem Statement and Data Description


